Introduction
Encountering an issue where your Acer monitor will not turn on can be an unexpected interruption to both productivity and leisure activities. As essential components of any computer setup, monitors that fail to power up can cause significant frustrations. Therefore, resolving this matter requires a systematic and detailed approach. In this guide, we delve into the potential causes behind this problem and provide step-by-step solutions to help you address it. We start with initial, straightforward checks and progress into more detailed troubleshooting techniques. This guide will help you assess power connections, explore monitor settings, and determine when to seek professional help. Before diving into deeper investigations, let us embark on addressing the basics of power supply.

Basic Power Checks
Ensuring Proper Power Supply
To start with your troubleshooting process, begin by confirming the power supply to your Acer monitor. Follow these foundational steps:
-
Check the Power Cable: First, ensure the power cable is securely connected to both the monitor and the power outlet. Consider swapping out cables if you have a spare available, as a faulty cable can prevent your monitor from turning on.
-
Inspect the Power Outlet: Verify that the power outlet functions correctly by testing it with another device, such as a lamp or phone charger. If the outlet proves non-functional, try plugging the monitor into a different outlet.
Once power supply issues are ruled out, your troubleshooting efforts can continue with confidence. If the setup checks out, it’s time to evaluate the power button’s functionality.
Verifying Power Button Functionality
Sometimes, the power button itself might be at fault. Here’s how you can verify its performance:
-
Physical Inspection: Check the power button for any visible damage. If it appears loose or lacks the usual clicking sound, it might be broken.
-
Monitor Indicator Light: Observe whether the monitor’s indicator light turns on when you press the power button. If the indicator light remains off, there could be an internal issue to address.
If the power button is intact but the monitor remains unresponsive, examining cables and connections may offer further insights.
Cable and Connection Examination
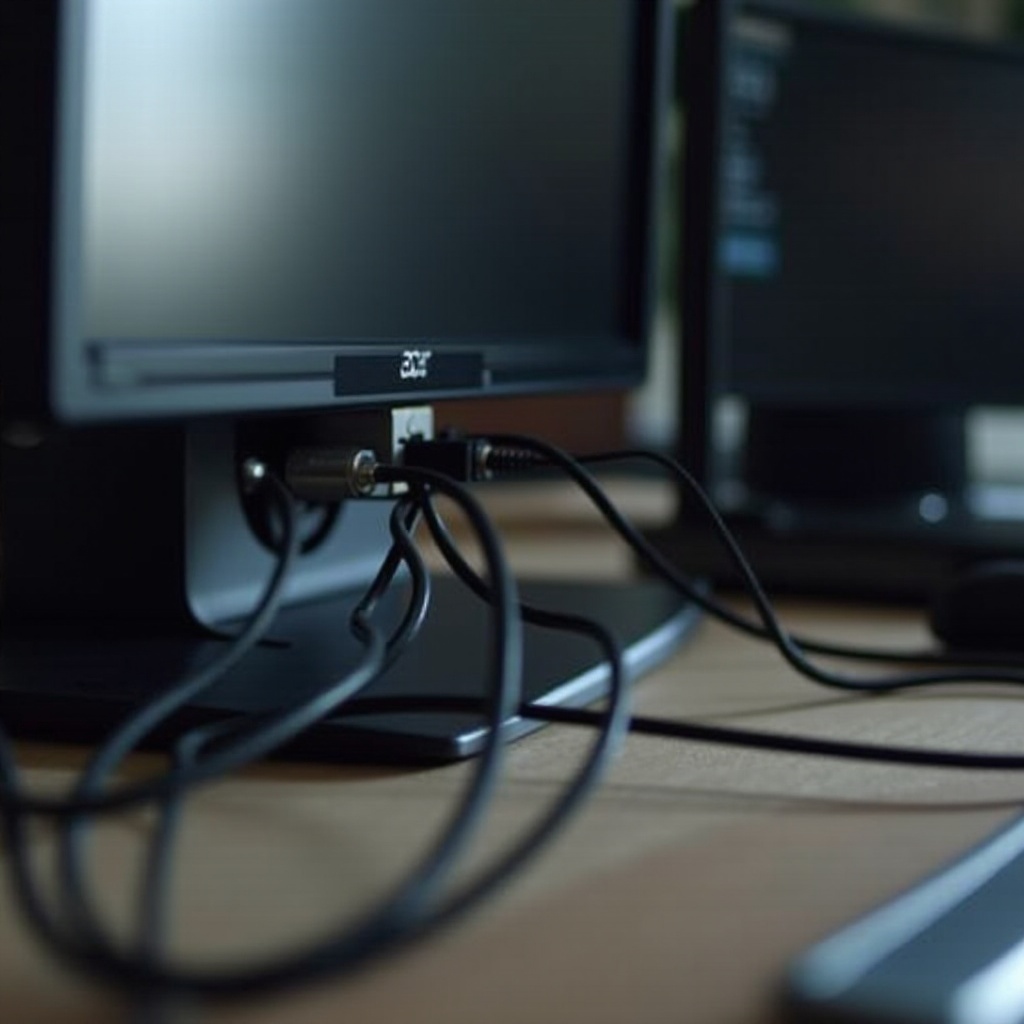
Inspecting Video and Power Cables
Cables serve a critical function in delivering power and transmitting video signals to your monitor. Here’s how to analyze them:
-
Video Cable Inspection: Confirm that the video cable is firmly connected to both the monitor and your computer. If available, try a different cable to circumvent a faulty one.
-
Cable Condition: Inspect the cables for any signs of wear, such as frays or tears. Damaged cables necessitate immediate replacement to prevent potential disruptions.
Cables checking out okay invites exploring alternative input scenarios.
Testing Alternative Inputs
Different input sources can assist in pinpointing the problem:
-
Switch Input Source: If your monitor supports multiple input types (like HDMI, VGA, DVI), toggle to a different source and see if a display shows.
-
Swap Devices: Test the monitor with another computer or device to determine if the issue lies with the monitor itself or the original device.
After securing connections as stable, the next logical step is adjusting monitor settings.
Monitor Settings and Configuration
Adjusting Display Settings
Display settings might sometimes interfere with the monitor’s functions. Here is what to scrutinize:
-
Access Display Menu: Use the On-Screen Display (OSD) menu of your monitor to access its display settings. Ensure the correct input source is selected.
-
Adjust Brightness and Contrast: Set the brightness and contrast levels to medium standards, as extremes might inhibit functionality.
If tweaking settings does not solve the problem, consider conducting a factory reset.
Performing a Factory Reset
A factory reset can return the monitor to its default settings, potentially resolving software glitches:
-
Find Reset Option: Locate the factory reset option within the OSD menu, typically under ‘Settings’ or ‘System.
-
Confirm Reset: Follow the prompts to execute a factory reset. This move might solve issues stemming from incorrect settings.
If a factory reset fails to revive your monitor, examining computer and software configurations may be next on your list.
Computer and Software Considerations
Updating Monitor Drivers
Sometimes, outdated drivers can prompt monitor issues. Here’s how to keep them current:
-
Device Manager: Access the Device Manager on your computer, and locate your monitor under the ‘Monitors’ section.
-
Update Driver: Right-click the monitor’s icon, and choose ‘Update driver.’ Follow the instructions to search for updates online.
Updating out-of-date drivers can remediate several display-related concerns. If your monitor’s issue persists, the next step involves checking system compatibility.
Checking System Compatibility
Your system might be incompatible with the monitor’s settings:
-
Resolution Settings: Ensure your computer’s display settings align with those supported by your monitor’s resolution.
-
Hardware Compatibility: Verify whether your graphics card supports your monitor’s specifications.
When system compatibility issues are ruled out, the last resort involves advanced troubleshooting procedures.
Advanced Troubleshooting Techniques
Testing with Alternative Devices
Testing your monitor with various devices aids in isolating the problem:
- Connect to Another Device: Employ a different computer, laptop, or device to see if the monitor displays any image. This will assist in determining whether the monitor or the original device harbors the problem.
If the monitor works with another device, deep dive into your system setup might be warranted.
Assessing BIOS and System Setup
Erroneous BIOS settings could lead to display problems:
-
BIOS Access: Restart your computer and enter the BIOS/UEFI by pressing a specific key (like F2, Delete, or Esc).
-
Display Settings: Check the display settings in the BIOS. Confirm that the primary display output aligns correctly.
These advanced steps help ascertain whether hardware issues or settings contribute to the problem. If no solution appears viable, professional help might be the necessary step.
When to Seek Professional Help
If troubleshooting steps fail to revive your Acer monitor, consulting a professional technician might be required. Professional diagnostics and repair ensure your equipment is handled skillfully and safely.

Conclusion
Resolving a non-responsive Acer monitor requires a structured and methodical approach, starting with basic inspections and progressing through more complex techniques. By systematically pursuing these steps, you can narrow down potential issues and address them effectively. If the problem continues, reaching out for professional assistance remains the recommended course of action.
Frequently Asked Questions
Why does my Acer monitor have power but no display?
Check the video cable connections, input source settings, and confirm your computer is operating correctly.
How can I perform a factory reset on my Acer monitor?
Use the monitor’s OSD menu to locate and activate the factory reset option within the general or system settings.
What should I do if my Acer monitor keeps turning off and on?
Ensure all connections are secure, update drivers, and verify the stability of the power supply.