Introduction
Your Shark Lift-Away vacuum cleaner is an incredible tool for maintaining a clean household. To keep it operating at peak performance, regularly emptying and cleaning the vacuum filter is essential. Ignoring this maintenance can lead to poor suction, reduced performance, and even a shorter lifespan for your appliance. In this guide, we will walk you through the entire process of emptying and cleaning the Shark Lift-Away vacuum filter, ensuring your vacuum continues to operate efficiently.
Understanding Your Shark Lift-Away Vacuum Filter
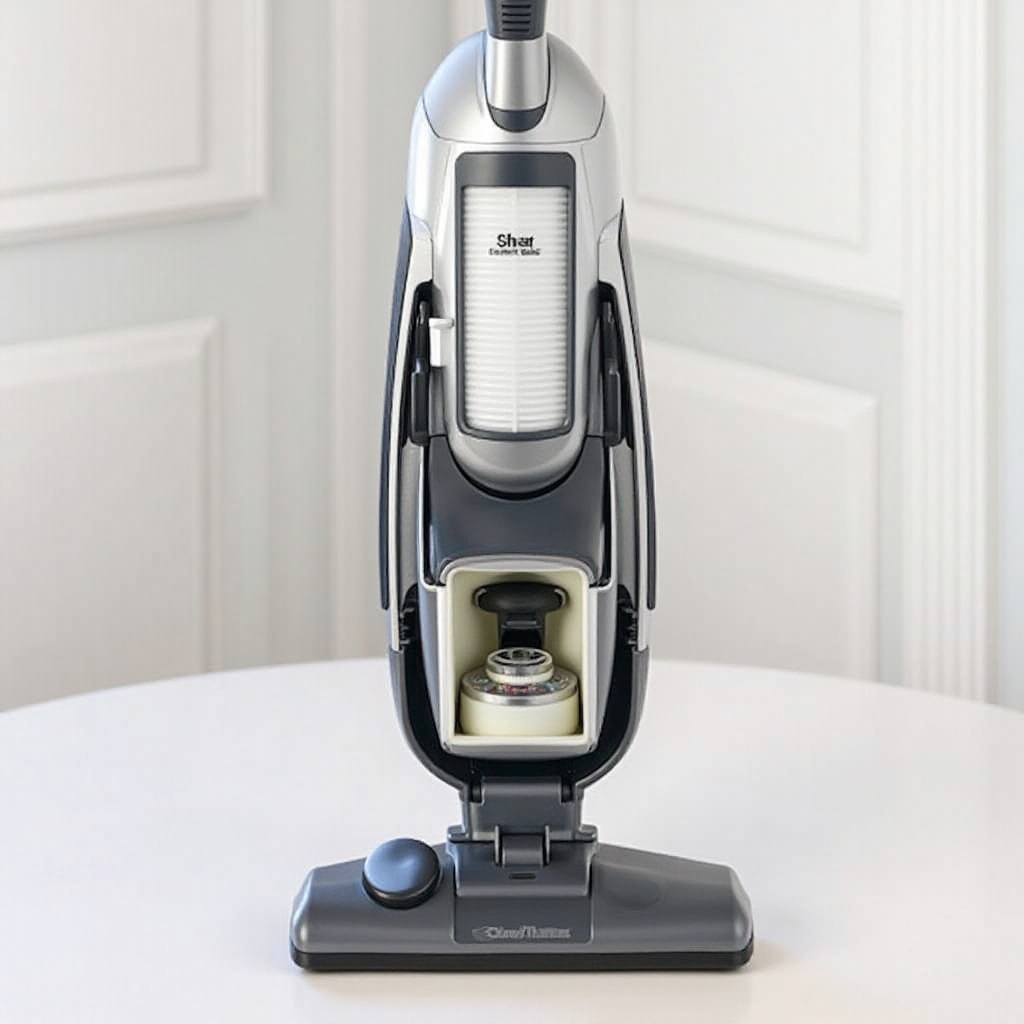
The Shark Lift-Away vacuum filtration system includes several parts that work together to trap dust, debris, and allergens. Understanding these components can help you properly maintain your vacuum.
- Pre-Motor Filters: Foam and felt filters located near the motor that prevent dust and debris from clogging the motor.
- Post-Motor Filter: Often a HEPA filter, it captures finer particles and allergens, improving air quality.
- Dust Cup: This is where all the large debris and dust are collected during vacuuming.
Knowing how each part functions will help you target specific areas that require cleaning. Regularly checking these components keeps your vacuum in top shape.
Step-by-Step Guide to Emptying the Filter
Emptying the Shark Lift-Away vacuum filter is not as daunting as it may seem. You only need a few tools and a bit of time. Follow these steps to ensure a thorough cleaning.
Gathering Necessary Tools and Materials
Before beginning, gather the following items:
– Clean cloth or paper towels
– Soft-bristled brush or toothbrush
– Mild detergent or dish soap
– A bowl of warm water (if needed)
– A can of compressed air (optional)
Shutting Down and Unplugging the Appliance
Safety first! Always ensure the vacuum is turned off and unplugged from the electrical outlet to avoid any accidents.
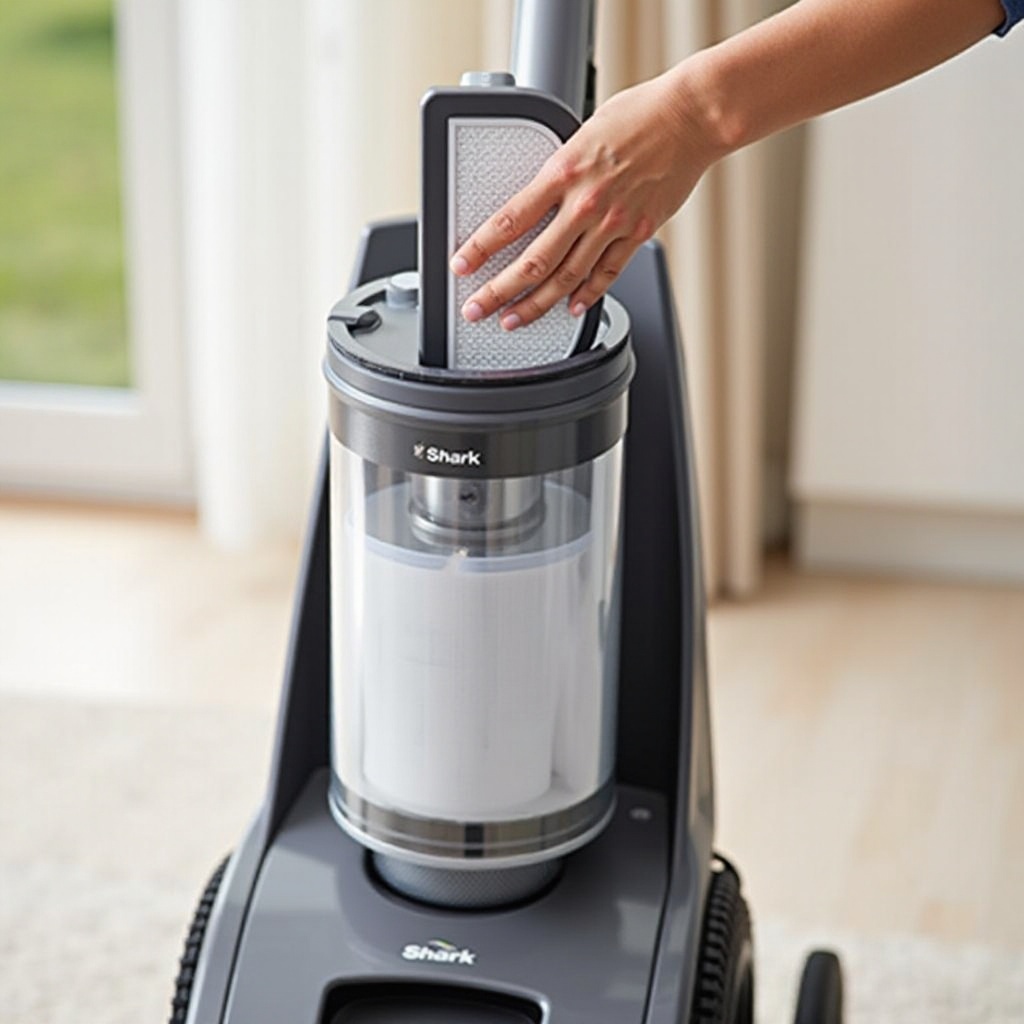
Accessing and Removing the Filter
- Remove the Dust Cup: Press the release button to detach the dust cup.
- Locate the Filters: Depending on the model, you’ll find the pre-motor filters either at the base or near the motor.
- Remove the Pre-Motor Filters: Simply pull them out. The felt and foam filters should come out easily.
- Access the Post-Motor Filter: This may be behind a compartment or near the exhaust. Slide it out gently.
Proper Cleaning Techniques for the Filter
- Empty the Dust Cup: Discard debris and dust from the dust cup into a trash bin. Wipe the inside with a dry cloth.
- Clean the Foam and Felt Filters:
- Foam Filter: Rinse under warm water until the water runs clear. Squeeze out excess water.
- Felt Filter: Tap off excess dust and clean with a brush. If extremely dirty, rinse carefully.
- Clean the HEPA Filter: Tap the filter to dislodge particles. Rinse under warm water if heavily soiled. Allow it to air dry completely.
- Cleaning the Dust Cup: Wipe with a damp cloth and ensure no residual dust remains.
- Drying: Let all components air dry completely for at least 24 hours before reassembly.
Once the parts are dry, the reassembly process can begin. This ensures your vacuum is back in a fully functional state.
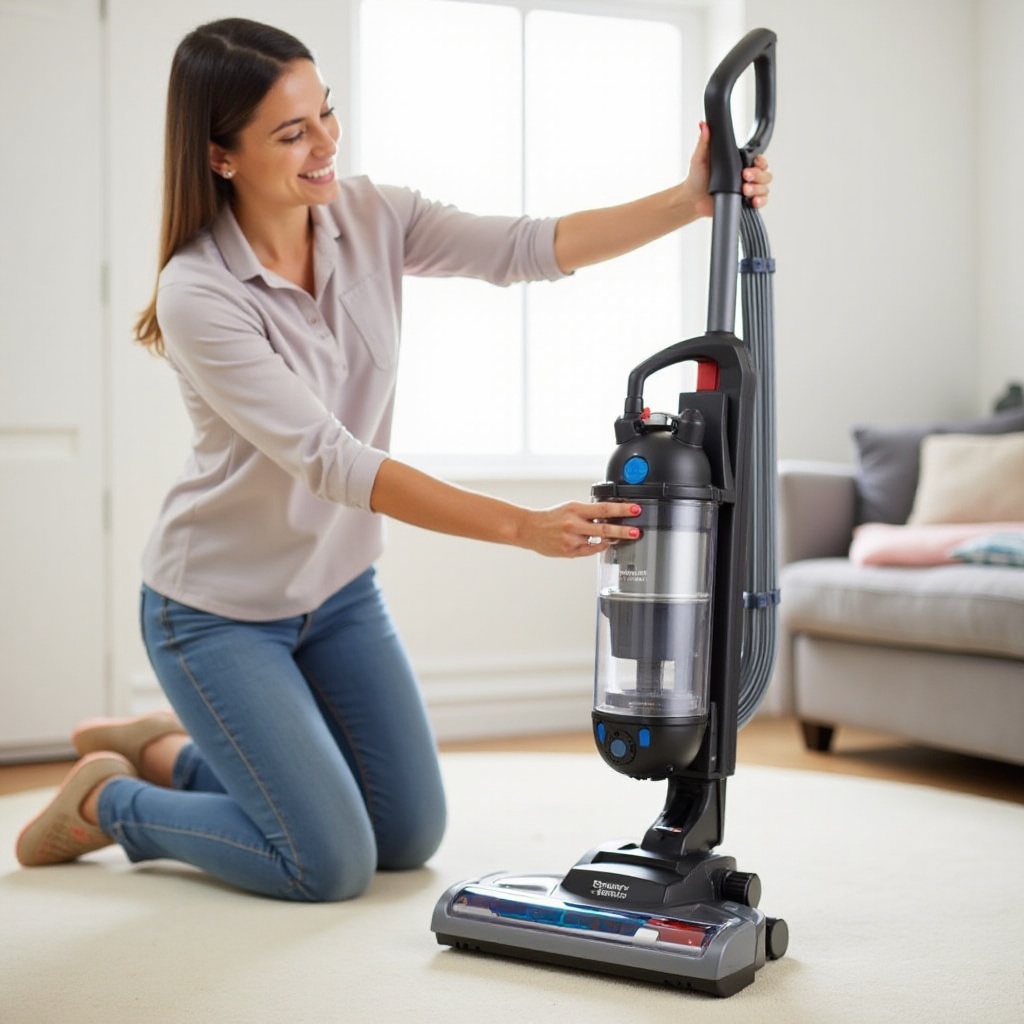
Reassembling the Vacuum
- Replace the pre-motor filters into their slots.
- Slide the HEPA filter back into position.
- Attach the dust cup securely.
- Plug in and test the vacuum to ensure it runs smoothly.
Properly maintaining your Shark Lift-Away vacuum filter is not only practical but ensures the longevity and performance of your appliance. However, maintenance does not stop at just cleaning.
Maintaining Your Shark Lift-Away Vacuum for Optimal Performance
Proper maintenance includes frequent inspections and cleanings. Let’s break down the key aspects:
Signs It’s Time to Clean the Filter
- Reduced Suction Power: When you notice the vacuum isn’t picking up debris as effectively.
- Overheating: If the vacuum becomes unusually hot during use.
- Unpleasant Odors: Bad smells can indicate a dirty filter.
How Often to Clean or Replace the Filter
- Foam and Felt Filters: Clean every month, and replace if they wear out.
- HEPA Filter: Clean every six months and replace annually for best results.
Enhancing Filter Lifespan
- Regular Maintenance: Empty the dust cup and clean filters frequently.
- Handle with Care: Avoid using harsh chemicals or scrubbing too hard.
- Store Properly: Keep the vacuum in a dry, dust-free environment.
Despite taking these preventive measures, some issues may arise. Let’s examine common problems and their solutions.
Troubleshooting Common Problems
What to Do if the Filter Appears Damaged
Replace any filter that appears torn, worn, or damaged. Using a damaged filter can reduce vacuum efficiency and potentially harm the appliance.
How to Deal with Persistent Odors
Persistent odors can be addressed by:
1. Thoroughly cleaning all filters and dust cups.
2. Adding a few drops of essential oil to the filter after cleaning.
Conclusion
Maintaining your Shark Lift-Away vacuum filter ensures optimal performance and a longer lifespan for your vacuum. Follow the steps outlined in this guide for hassle-free cleaning and maintenance.
Frequently Asked Questions
How often should I clean the filter in my Shark Lift-Away vacuum?
You should clean the foam and felt filters every month and the HEPA filter every six months.
Can I use my vacuum without the HEPA filter?
No, operating without the HEPA filter can compromise the vacuum’s ability to filter out fine particles and allergens.
What should I do if my vacuum has a burning smell?
Stop using the vacuum immediately, unplug it, and inspect the filters and motor for possible clogs or damage. Clean or replace necessary parts before using it again.